Ingredients
- 1 quart whole or reduced-fat milk
- 4 tablespoons live-culture plain yogurt*
Preparation
When it comes to dairy, fresh is best, so make your yogurt soon after you purchase the milk for it. And go organic if you can. Yogurt made from grass-based, toxin-free milk offers bigger health benefits than the milk of grain-fed, confined animals. I recommend milk from Organic Valley, a Wisconsin-based dairy cooperative. It’s available in numerous places throughout Northeastern Wisconsin.
*This is the “starter” that will catalyze fermentation. Be sure that the label indicates the presence of live cultures in the yogurt. Again, Organic Valley is a good choice. Don’t substitute yogurt that has stabilizers or additives. Once you’ve made the first batch of your own yogurt, you can use some of it to start the next.
Instructions
Assemble your equipment: sauce pan; thermometer; measuring spoons; whisk; 2 or 3 glass pint jars with lids; 2 quart-size jars with lids; medium-sized cooler; cheesecloth; strainer; and a bowl.
Everything should be clean, especially the pint jars and lids; wash in hot, soapy water, rinse with hot water and let air-dry. (Only good bacteria are invited to this party.)
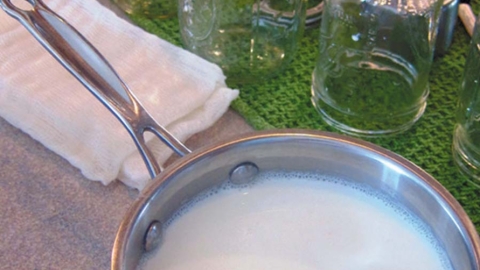
Heat milk in the sauce pan over medium flame. Monitor milk temperature with a thermometer; when it reaches 185-190 degrees, turn off heat. Let milk cool to about 110 degrees, give or take a few degrees; this will take 15-25 minutes.
Meanwhile, bring a large tea kettle of water to boil, then keep it over lowest heat. (You’ll use this to fill the quart jars, which will help keep the yogurt warm inside the cooler.)
Whisk yogurt into milk thoroughly.
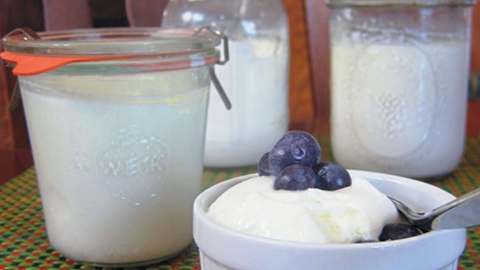
Pour mixture into pint jars and secure lids. Fill quart jars with simmering water and secure lids. Place all jars in a cooler, pour any remaining hot water around jars and cover cooler. Place in a warm spot—you can even cover it with a blanket for extra warmth. Don’t move or disturb this set-up for 8-12 hours (the longer the fermentation period, the thicker and tangier the yogurt).
Now chill the yogurt until you’re ready to eat it.
Your homemade yogurt will be mildly tart and will become tarter over time.
And note: When you open a jar, you’ll see a milky liquid around the yogurt—this is the whey and it’s delicious and good for you.
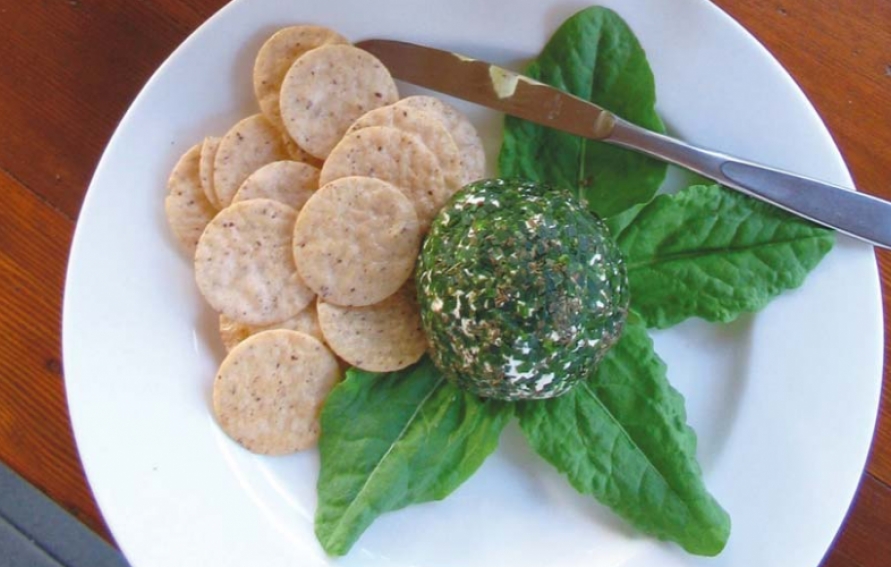
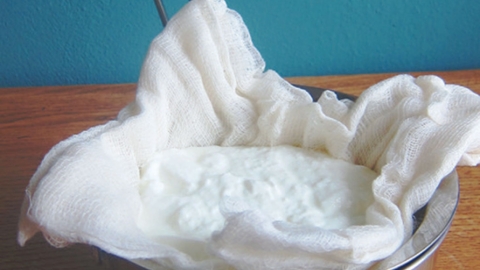
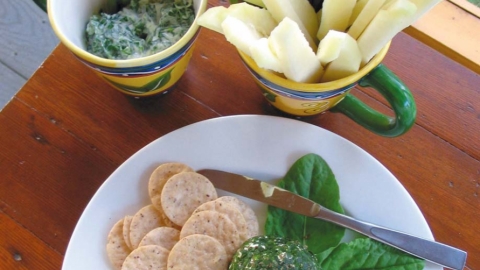
Drink it or add it to soups, rice dishes, smoothies, etc. If you like thicker, Greek-style yogurt, place it in a cheesecloth-lined strainer and set this over a bowl to drain off the whey for a few hours. (Do this before combining it with any add-ins). Drain off the whey even longer (say, overnight in the fridge) and another small miracle unfolds—your very own yogurt cheese. It will be rich and spreadable. Beat in some salt plus fresh herbs, grated onion or other savory ingredients and voila: you’ve got fresh cheese.
About this recipe
...[Y]ogurt, my first DIY topic and one of the easiest foods to ferment at home. Basically you simply heat milk with a starter (read: culture), keep it warm and then leave it undisturbed to do its thing. In just a few hours it will thicken obligingly, acquire a delicate tanginess and give you a sense of power and wonder.
You can a buy a yogurt maker, but if you’re like me and prefer to avoid single-use contraptions that take up room in the kitchen, then go for this method; it uses nothing more complicated than a thermometer.
When you make your own yogurt, you can do with it what you will: stir in maple syrup, honey or nuts, top it with fruit or jam, add a dollop to granola or a piece of pie, etc. Or try this: Combine it with olive oil, minced garlic and sea salt, and you’ve got a righteous and very quick sauce for chicken, fish or almost any vegetable in the book.

